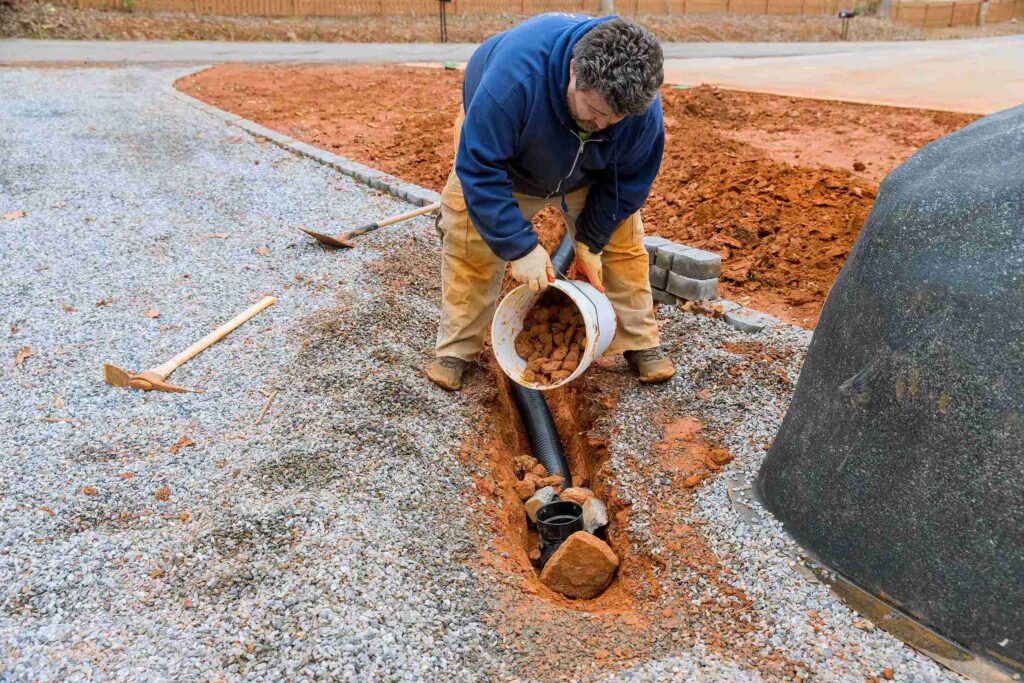
Installing a French drain system is a smart solution for managing excess water around your property, preventing issues like waterlogging, foundation damage, and landscape erosion. This comprehensive guide provides essential tips and tricks to help streamline the installation process, ensuring optimal performance and longevity of your French drain system.
Understanding French Drain Systems
A French drain is essentially a trench filled with gravel or rock, containing a perforated pipe that redirects surface water and groundwater away from specific areas. This system is highly effective for water management, particularly in areas prone to heavy rainfall or poor drainage.
Benefits of French Drains
- Prevents water pooling and reduces the risk of flooding.
- Protects foundations from water damage.
- Improves soil stability and prevents erosion.
- Enhances the health of your landscape by preventing over-saturation.
Planning Your French Drain Installation
Before starting the installation, it’s crucial to have a clear plan. The planning phase involves selecting the right location, understanding the slope requirements, and ensuring compliance with local building codes. Discover expert strategies here to guide you through the planning process.
Key Considerations
- Location: Identify low-lying areas where water tends to accumulate.
- Slope: Ensure the trench has a minimum slope of 1% for effective water flow.
- Permits: Check with local authorities to obtain necessary permits or approvals.
Materials and Tools Required
Gathering the right materials and tools is essential for a smooth installation process. Here’s a list of what you’ll need:
- Perforated pipe
- Gravel or crushed stone
- Geotextile fabric
- Shovel and trenching spade
- Level and measuring tape
- Wheelbarrow
For a more detailed breakdown of materials and their specific uses, learn about our tailored solutions.
Step-by-Step Installation Process
Step 1: Digging the Trench
Start by marking the path of your drain with stakes and string. Dig a trench approximately 18 inches deep and 12 inches wide, adjusting as necessary based on your specific needs.
Step 2: Lining the Trench
Line the trench with geotextile fabric to prevent soil from clogging the pipe. This step is critical for maintaining the efficiency of the drain system over time.
Step 3: Adding Gravel
Pour a layer of gravel into the trench, about 2 to 3 inches deep. This layer acts as a base for the perforated pipe.
Step 4: Installing the Pipe
Place the perforated pipe on top of the gravel layer, ensuring the holes face downward. This orientation allows water to enter the pipe efficiently. Explore advanced guides and tips for optimizing pipe placement and performance.
Step 5: Backfilling with Gravel
Cover the pipe with additional gravel until it’s about 2 inches below the ground’s surface. Fold the excess geotextile fabric over the gravel to prevent soil intrusion.
Step 6: Covering the Drain
Finish by covering the drain with soil and sod, blending it with the surrounding landscape. This final step ensures a seamless appearance and promotes effective water management.
For more insights on perfecting the installation process, find out more about this approach.
Maintenance and Troubleshooting
Regular maintenance is crucial to keep your French drain functioning optimally. Here are some tips:
- Regularly inspect for clogs and remove debris from the drain openings.
- Ensure the outlet is clear and water is flowing freely.
- Check for erosion around the drain area and reinforce as needed.
By following these expert tips and tricks, installing a French drain system becomes a manageable and rewarding task. For more comprehensive guidance, explore advanced guides and tips available online. Implementing these strategies will ensure your property remains dry and protected against water-related issues.